
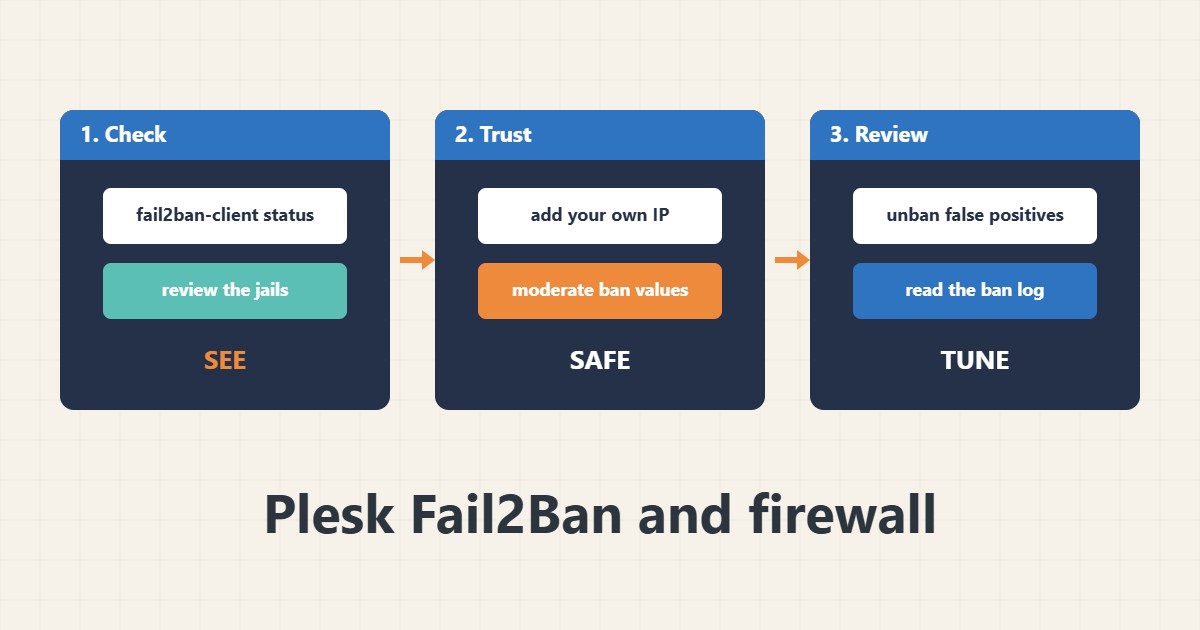
A public Plesk server gets constant login attempts against the panel, SSH, mail and WordPress. Fail2Ban watches logs and temporarily blocks addresses that fail too often, and the Plesk firewall controls which ports are reachable. The risk is blocking yourself or real users. Menu names below come from my knowledge of Plesk and may differ by version; I did not run these steps on your server, so keep a console or second access method open while changing settings.
1. See what is running
In the Plesk panel, find the IP Address Banning (Fail2Ban) tools under the server tools and settings. From SSH you can check the service and jails:
# From SSH on the Plesk server
systemctl status fail2ban --no-pager
fail2ban-client status
fail2ban-client status plesk-wordpress
Jails for the panel, mail, Apache and WordPress are the usual ones.
2. Add trusted addresses first
Before tightening anything, add your own fixed IP or office range to the trusted list so you cannot ban yourself:
# /etc/fail2ban/jail.d/local-example.conf (concept; Plesk manages its own jails)
[DEFAULT]
ignoreip = 127.0.0.1/8 198.51.100.7
bantime  = 1h
findtime = 10m
maxretry = 5
Use the panel’s trusted IP setting where possible, because Plesk regenerates its own jail files. See the Fail2ban basics guide for how jails work.
3. Tune and unban
Moderate ban time and retry values are better than extreme ones. If a legitimate user is banned, review and unban that address only:
# Review the ban list and unban one address you trust
fail2ban-client status plesk-apache
fail2ban-client set plesk-apache unbanip 203.0.113.25
grep -i 'ban' /var/log/fail2ban.log | tail -n 20
For SSH hardening see the key-only SSH guide.
4. Firewall and verification
Open only the ports you need and confirm what listens. Use the Plesk firewall extension if it is installed, and follow the safe firewall change guide:
curl -sI https://example.com/wp-login.php | head -n 1
tail -n 30 /var/log/plesk/panel.log
ss -tlnp | grep -E ':(8443|22|80|443)\b'
If logs show repeated attacks on WordPress, see the login hardening guide.
5. Mistakes to avoid
These mistakes cause lockouts or false confidence:
Banning yourself without a trusted-IP entry   # locked out of the panel and SSH
Very low retry count on shared offices         # NAT users ban everyone
Disabling Fail2Ban to 'fix' one false ban      # removes protection for all
Hand-editing jail files Plesk regenerates      # changes disappear
Review the ban log regularly to catch false positives.
6. Illustrative example, not a measurement
Imagine a Plesk server (made-up) with a log full of failed WordPress logins from many addresses. Fail2Ban bans a few dozen over a day, the admin’s office IP is in the trusted list, and one customer who forgot a password is unbanned after a check. The log noise falls without touching real access.
7. Common mistakes
- No trusted IP before tightening.
- Too-low retry limits for shared networks.
- Disabling Fail2Ban after one false ban.
- Editing generated jail files by hand.
- Changing the firewall without a console.
- Never reading the ban log.
8. Frequently asked questions
Is Fail2Ban enough? No; it complements updates, strong passwords and two-factor login.
How long should bans last? Often an hour or more for repeat offenders; tune to your traffic.
Can I unban an address? Yes, with fail2ban-client or the panel.
Does it protect against DDoS? Not really; it targets repeated failed logins.
9. Quick checklist
- Confirm Fail2Ban is active.
- Add trusted IPs.
- Review the jails.
- Set moderate ban values.
- Check open ports.
- Unban false positives.
- Read the logs regularly.
If you need help reviewing performance or maintaining a server, see the server management services.
More server and WordPress guides are collected in the article archive.
Official references
Plesk: Fail2Ban (IP Address Banning) · Plesk: Firewall · Fail2ban manual · Plesk Administrator Guide