
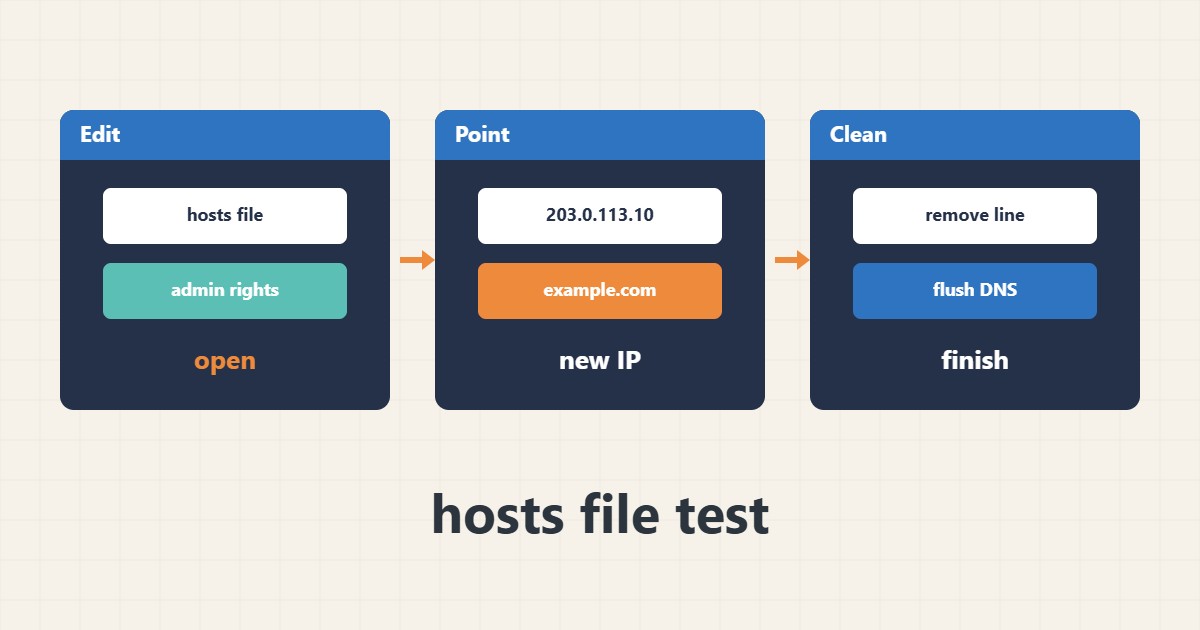
Before migrating a site you want to confirm it works on the new server without moving visitors. The hosts file lets you point a domain to the new server IP on your own computer only.
1. File location
On Linux and macOS the file is /etc/hosts; on Windows it is the path below. Editing it requires administrator rights:
C:\Windows\System32\drivers\etc\hosts2. Add a test line
Add a line with the new server IP and the domain name (the address is an example). From then on only your device sends the domain to the new server:
203.0.113.10 example.com www.example.com3. Verify and clean up
Use ping or curl to confirm the domain resolves to the intended IP. Remove the line when testing ends; forgetting it hides the real DNS change later.
curl -I https://example.com4. Illustrative example, not a measurement
Suppose (an illustrative case) after migration the site looks right in your browser but others still see the old version. Your old hosts line may be misleading you, not DNS.
5. Common mistakes
- Leaving the hosts line in place after testing.
- Testing HTTPS with a certificate not issued yet and ignoring the warning.
- Assuming the hosts change affects every visitor.
6. Frequently asked questions
Do I need to flush the DNS cache? Sometimes; the browser or OS may keep the previous answer.
Is this enough to test email? No; email depends on the MX record and hosts only affects that device.
7. Quick checklist
- Add the hosts line with the new IP.
- Fully close and reopen the browser.
- Check the site and the admin login.
- Remove the line after testing.
If you need help reviewing performance or maintaining a server, see the server management services.
More server and WordPress guides are collected in the article archive.