
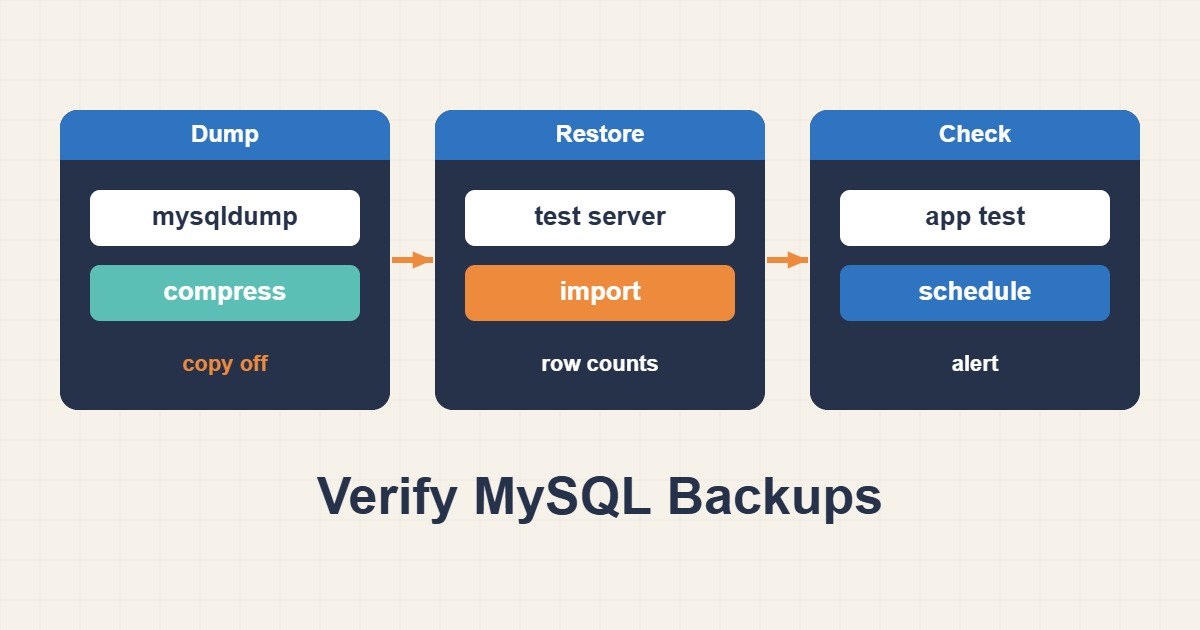
A backup file proves nothing until you have loaded it somewhere. Many teams discover on the worst day of the year that the nightly dump was empty, truncated, missing the routines they need, or loads with errors nobody ever saw. This guide shows how to take a consistent MySQL dump, check it the moment it finishes, restore it into a throwaway server and compare the result with production. It also covers the things a dump does not include, how to time the restore, and how to automate the whole test so that it keeps running after the first enthusiastic week.
1. Why dumps fail silently
A cron job that exits with status zero tells you the job ran, not that the file is usable. Common silent failures are a full disk that truncates the output, a pipe to gzip that hides an error from mysqldump, a password change that leaves a zero-byte file, and a dump taken without the options needed for consistency. Each of these produces a file with today’s date and nothing useful inside, which is why the verification steps below matter more than the dump command itself.
2. Take a consistent dump
mysqldump --single-transaction --routines --triggers --events --hex-blob \
  --databases appdb | gzip > appdb-$(date +%F).sql.gz
--single-transaction gives a consistent snapshot of InnoDB tables without locking them, which matters on a live site. It does not protect MyISAM tables, so check your storage engines. --routines, --triggers and --events include stored code that a plain dump skips, and --hex-blob keeps binary columns intact. On MySQL 8 a user without the PROCESS privilege may also need --no-tablespaces. Keep credentials in a ~/.my.cnf file with mode 600 rather than on the command line, where they show up in process listings.
3. Check the file immediately
gzip -t appdb-2026-10-14.sql.gz
zcat appdb-2026-10-14.sql.gz | tail -n 3
sha256sum appdb-2026-10-14.sql.gz
gzip -t verifies that the archive is not corrupt. By default mysqldump ends the file with a comment line that starts with -- Dump completed on, so seeing it at the end is a strong sign the dump was not cut off, although only a restore test is real proof. The checksum lets you confirm later that a copy matches the original after it has been moved offsite. Make the script fail loudly: use set -o pipefail so an error from mysqldump is not hidden by the pipe to gzip.
4. Watch size, not just existence
A file that suddenly shrinks by half is more suspicious than a file that is missing, because nobody gets alerted. Record the size of each backup and raise an alarm when it drops sharply compared with the previous one. A rough check like this catches empty dumps, permission errors and database renames long before a restore is needed.
5. Restore into a scratch server, never production
A disposable container is the quickest clean target. The empty-password option below is acceptable only because the container is throwaway and not exposed to any network:
docker run -d --name restore-test -e MYSQL_ALLOW_EMPTY_PASSWORD=yes mysql:8.0
docker exec restore-test mysqladmin -uroot ping
zcat appdb-2026-10-14.sql.gz | docker exec -i restore-test mysql -uroot
Use a MySQL version that matches production, because a dump from 8.0 can fail on an older server and behave differently on a newer one. Wait for ping to succeed before loading, then watch the output for errors rather than assuming silence means success.
6. Verify the content, not just the exit code
docker exec restore-test mysql -uroot -e "SELECT COUNT(*) FROM appdb.wp_posts"
docker exec restore-test mysqlcheck -uroot --databases appdb
Compare row counts on a few important tables with production, accepting small differences for rows written after the dump. mysqlcheck reports structural problems with tables. Then run a real smoke test: point a staging copy of the application at the restored database and load the pages that matter. A restore that completes but gives an application that cannot log in is still a failed restore.
7. Remember what the dump does not contain
A dump taken with --databases contains the schema and data of those databases, but not the accounts that connect to them. If you lose the server, you also need the users and their privileges. Export them separately, for example by recording the output of SHOW GRANTS for each application user:
SHOW GRANTS FOR 'app'@'localhost';For how to design those accounts in the first place, see Least-Privilege MySQL Users: Separate Runtime Access from Migrations. Also keep configuration files such as my.cnf with your backups, because character sets and SQL modes affect how the data behaves.
8. Time the restore
Restore time is the number that matters during an incident, and it grows with the size of the data. Measure it with time on every test and write it down. If it takes longer than your business can wait, consider parallel dump and load tools such as mydumper and myloader, or physical backups, and decide whether you need point-in-time recovery from binary logs, which MySQL Point-in-Time Recovery with Binary Logs covers.
9. Automate the test
#!/bin/bash
set -euo pipefail
f=$(ls -t /backups/appdb-*.sql.gz | head -n 1)
gzip -t "$f"
docker run -d --rm --name restore-test -e MYSQL_ALLOW_EMPTY_PASSWORD=yes mysql:8.0
until docker exec restore-test mysqladmin -uroot ping --silent; do sleep 2; done
zcat "$f" | docker exec -i restore-test mysql -uroot
docker exec restore-test mysql -uroot -N -e "SELECT COUNT(*) FROM appdb.wp_posts"
docker stop restore-test
Run something like this weekly from cron or a systemd timer, log the output and alert on a non-zero exit code. Manual restore tests are done once and then forgotten, while an automated one tells you the week a change breaks your backups. Adjust the database and table names for your site.
10. Protect and copy the backups
A single copy on the same server is not a backup. Follow the 3-2-1 idea from A Practical 3-2-1 Backup Strategy for WordPress and Web Servers: several copies, on different media, with at least one offsite. Encrypt copies that leave the server and store the decryption key somewhere separate, otherwise the backup is unreadable on the day you need it.
11. Common mistakes
- Believing a zero exit status from cron means the backup works.
- Hiding
mysqldumperrors behind a pipe. - Using
--single-transactionon MyISAM tables and expecting consistency. - Restoring into production to see if it works.
- Forgetting users, privileges and configuration.
- Never measuring how long a restore takes.
12. A worked example
Suppose a WordPress database dumps to about 250 MB compressed every night. You verify the archive with gzip -t, restore it into a throwaway container, count rows in wp_posts, run mysqlcheck and write down that the restore took, say, eight minutes. Those figures are an illustration for the process, not a promise about your data. The point is that you now know the dump loads, what it takes to load and what to compare it against, instead of hoping.
13. Character sets and restore settings
A restore can succeed and still damage text. If the client connection uses a different character set from the dump, Persian, Arabic and other non-Latin text can come back as question marks or garbled characters. Add --default-character-set=utf8mb4 when you dump and when you load, and confirm that the database and tables use utf8mb4. After a test restore, open a few real posts that contain non-English text and read them with your own eyes; a row count cannot catch this kind of damage.
14. Plan for partial restores
Most real incidents involve one table or one site, not the whole server. A restore that has to replay a multi-gigabyte file to recover a single table is slow and risky. If you manage several sites, dump each database separately, and for very large tables consider dumping them on their own with the --tables option so a partial restore is a small, quick operation. Practise the partial restore in the scratch server too, so the steps are familiar before you need them.
15. Quick checklist
- Dump with
--single-transaction, routines, triggers and events, usingpipefail. - Check with
gzip -t, the final comment line and a size comparison. - Restore into a disposable server of the same MySQL version.
- Compare row counts, run
mysqlcheckand a smoke test. - Export users and grants, and keep configuration with the backup.
- Check character sets with real non-English posts.
- Record restore time and automate the test.
More server guides are collected in the article archive.
Official references
MySQL: mysqldump · MySQL: Backup and Recovery · MySQL: mysqlcheck · MySQL: mysql client