
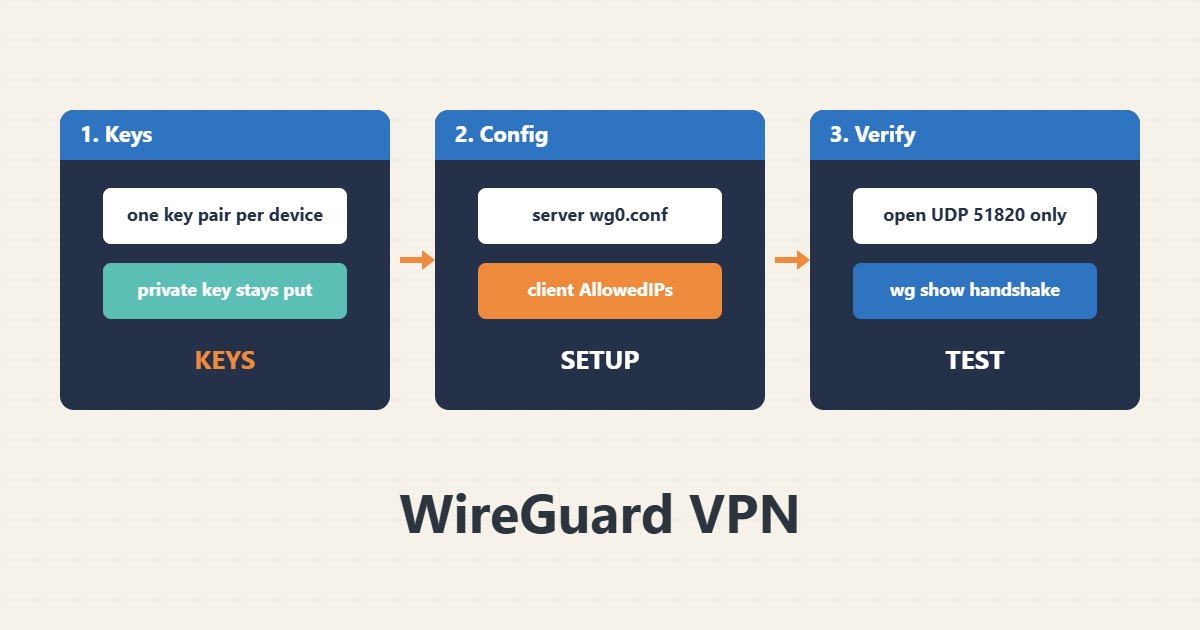
A VPN lets you reach private services such as databases, admin panels or SSH only through a small encrypted tunnel instead of the open internet. WireGuard is popular because its configuration is short and its access model is simple: a peer can connect only if its public key is listed. This guide shows a minimal server and client setup. Commands follow the WireGuard documentation; I did not run them on your server, and you must keep private keys on the device that owns them.
1. Generate keys carefully
Each device has a private key that stays on it and a public key that you share with the other side:
sudo apt install wireguard
umask 077
wg genkey | tee /etc/wireguard/server.key | wg pubkey > /etc/wireguard/server.pub
ls -l /etc/wireguard/
# The .key file is a PRIVATE key: never paste it into chat, tickets or documents
Treat the private key like a password. If it is ever exposed, generate a new pair.
2. Write the server configuration
The server gets a VPN address, a UDP port and one block per allowed peer:
# /etc/wireguard/wg0.conf  (server, example addresses)
[Interface]
Address    = 10.8.0.1/24
ListenPort = 51820
PrivateKey = <contents of server.key, kept only on the server>

[Peer]
# laptop
PublicKey  = <laptop public key>
AllowedIPs = 10.8.0.2/32
Use one key pair per device so that you can remove a single device later.
3. Write the client configuration
The client points to the server and lists which networks go through the tunnel:
# Client side
[Interface]
Address    = 10.8.0.2/32
PrivateKey = <laptop private key, kept only on the laptop>

[Peer]
PublicKey  = <server public key>
Endpoint   = vpn.example.com:51820
AllowedIPs = 10.8.0.0/24      # only the VPN subnet; use 0.0.0.0/0 for all traffic
PersistentKeepalive = 25
Start with only the VPN subnet in AllowedIPs. Routing all traffic is a separate decision.
4. Start it, open one port and verify
Allow only the UDP port, enable the service and check the handshake:
sudo ufw allow 51820/udp
sudo systemctl enable --now wg-quick@wg0
sudo wg show
ping -c 3 10.8.0.1                # from the client
sudo journalctl -u wg-quick@wg0 -n 20 --no-pager
Confirm firewall changes safely; see the firewall guide. After the VPN works, you can restrict SSH to the VPN address; see the key-only SSH guide and keep a console open while changing it.
5. Mistakes to avoid
These mistakes weaken a VPN:
Pasting private keys into chats or tickets   # anyone with it can join the VPN
AllowedIPs = 0.0.0.0/0 by habit             # sends all traffic through the server
One shared key pair for every device         # you cannot revoke one device
Opening UDP 51820 to the world and forgetting the peers list   # the peer list is the access control
Review the peer list regularly and remove devices you no longer use. Read the service logs with the journalctl guide if the handshake never appears.
6. Illustrative example, not a measurement
Imagine a small team (made-up) whose database admin panel was open to the internet. After setting up WireGuard with three peers and allowing the panel only on the VPN address, the panel disappears from public scans, and a lost laptop is handled by deleting one peer block instead of changing every password.
7. Common mistakes
- Sharing private keys in chat or tickets.
- Routing all traffic by default.
- Using one key pair for several devices.
- Never reviewing the peer list.
- Opening extra ports.
- Locking yourself out of SSH while changing rules.
8. Frequently asked questions
Which port does WireGuard use? UDP 51820 by default, but you can choose another.
Why is there no username and password? Access is based on public keys.
How do I remove a device? Delete its peer block and reload the interface.
Does it replace a firewall? No; it adds a private access path.
9. Quick checklist
- Generate a key pair per device.
- Keep private keys private.
- Write the server config.
- Write the client config.
- Limit AllowedIPs.
- Open one UDP port.
- Verify with wg show.
If you need help reviewing performance or maintaining a server, see the server management services.
More server and WordPress guides are collected in the article archive.