
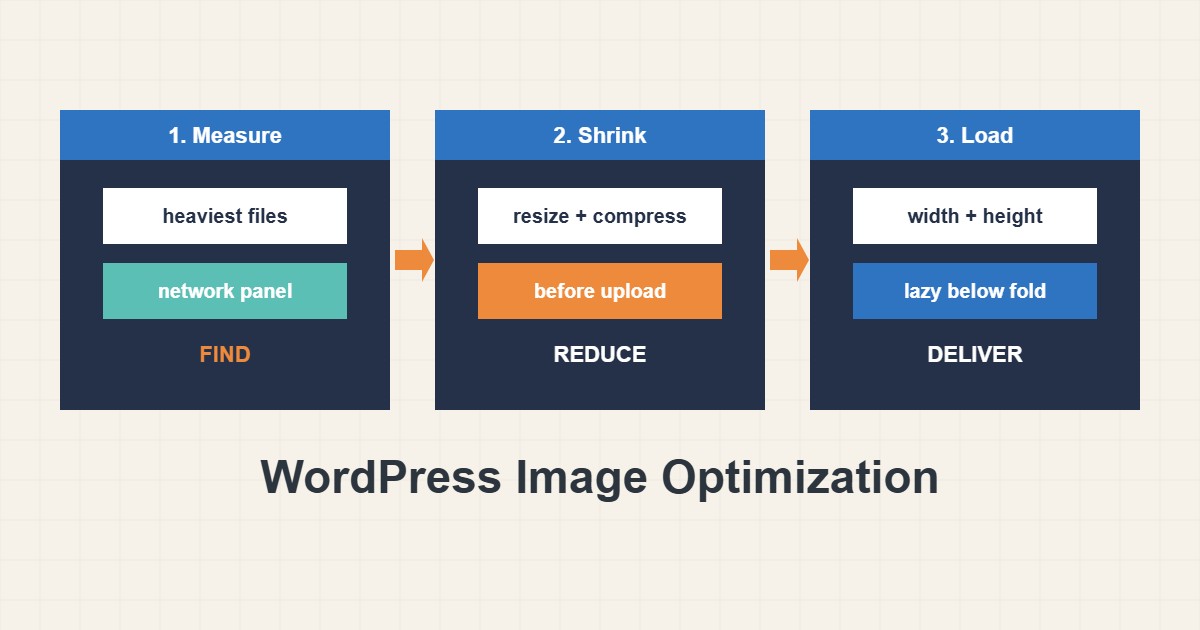
Images are usually the heaviest part of a WordPress page, and the cheapest to fix. The common causes are simple: photos uploaded at camera size, thumbnails nobody uses, and an important top image loaded lazily. This guide gives a safe order of work: measure first, resize and compress before upload, let WordPress generate the right sizes, keep width and height in the markup, and use lazy loading only where it helps. It does not require a special plugin.
1. Measure which images are heavy
Check a few real files rather than guessing. This shows the size of one image and the biggest files in your uploads folder:
# Size and type of one image (bytes)
curl -sI https://example.com/wp-content/uploads/2026/10/photo.jpg | grep -iE 'content-length|content-type'

# Largest files in uploads (read-only)
find wp-content/uploads -type f -size +500k -printf '%s %p\n' | sort -n | tail -15
Anything above a few hundred kilobytes for a normal blog picture deserves a look. A page with a 3 MB hero image is slow for every visitor, even with good hosting and caching. Also open a slow page in the browser’s network panel and sort by size.
2. Resize before you upload
A photo straight from a phone can be 4000 pixels wide, while your content column shows 800 to 1200. Resize to about twice the largest display width at most, then compress. WordPress scales very large uploads down (the big image threshold is 2560 pixels), but that file still sits in your storage and the original may remain, so do not rely on it for every upload. For JPEG photos, a quality around 80 to 85 usually looks the same as 100 at a fraction of the size. Screenshots and logos with flat colors are often smaller as PNG or WebP.
3. Let WordPress make the right sizes
WordPress creates several sizes and writes srcset so browsers choose a suitable one. Problems appear after you change theme: the new theme asks for sizes that old images do not have. Regenerate only what is missing:
wp media regenerate --only-missing --yes
# Regenerates sizes only when a thumbnail is missing; run after a theme changes image sizes
Take a backup first (see the backup guide) and run it at a quiet time, since it uses CPU and disk. If limits stop it, reduce the batch or see the resource limits guide.
4. Keep dimensions in the HTML
Always give images a width and height so the browser reserves space and the page does not jump while loading. WordPress adds these automatically for images inserted in the editor. For images in custom code write them yourself:
<img src="photo-1200.jpg" width="1200" height="630" alt="Describe the image" loading="lazy" decoding="async">Use meaningful alt text for content images; leave decorative images with an empty alt.
5. Lazy-load below the fold, not the top image
WordPress adds loading="lazy" to images by default, which is good for images far down the page. The first large image the visitor sees should not be lazy, because it delays the main content. Newer WordPress versions try to handle this automatically, but verify in the page source. For ideas on the wider loading path see the TTFB guide.
6. Illustrative example, not a measurement
Imagine a post with six photos of 2.4 MB each, uploaded at 5000 pixels wide (made-up numbers), about 14 MB of images. Resizing to 1600 pixels and exporting at quality 82 might bring each close to 250 KB, around 1.5 MB total. The page looks the same at normal screens, loads far faster on mobile data and uses less storage and bandwidth. Nothing else on the site changed.
7. Common mistakes
- Uploading original camera files.
- Stacking two or three compression plugins that fight each other.
- Lazy-loading the main top image.
- Removing width and height attributes.
- Regenerating all thumbnails on a busy shared host in the daytime.
- Compressing so hard that text on images becomes blurry.
8. Frequently asked questions
Do I need a plugin? Not necessarily. Resizing and compressing before upload covers most of the benefit.
Is WebP always better than JPEG? Often smaller, but support and quality depend on your workflow. Test visually and keep originals.
Will changing sizes break old posts? Old images keep working. Regenerating only makes new sizes available.
How small is small enough? Judge by the page: look at total image weight and loading time on mobile, not one number.
9. Quick checklist
- List the heaviest images.
- Resize and compress before upload.
- Check the theme’s image sizes and regenerate missing ones after a backup.
- Keep width and height in markup.
- Do not lazy-load the top image.
- Write useful alt text.
- Re-measure the page afterwards.
If you need help reviewing performance or maintaining a server, see the server management services.
More server and WordPress guides are collected in the article archive.
Official references
web.dev: Learn Images · WP-CLI: wp media regenerate · Make WordPress Core: Big image handling · web.dev: Optimize Largest Contentful Paint