
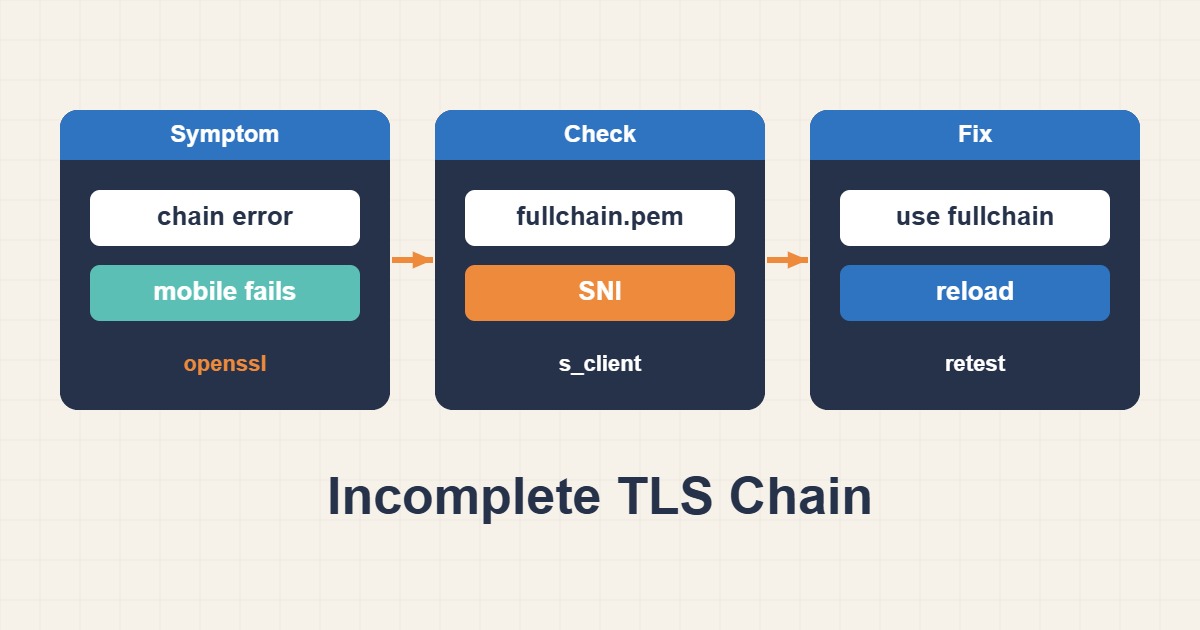
HTTPS may work in your browser while an API client, mobile application or monitoring probe rejects the certificate. A browser can already know an intermediate certificate, masking an incomplete chain. Diagnose the certificates actually served, rather than assuming every trust failure is an expired certificate or a Certbot renewal problem.
Scope and prerequisites
This example assumes Nginx terminates TLS on the server under investigation. With a CDN or load balancer, inspect the public edge and origin separately. Record the OpenSSL version, hostname and active certificate paths. Back up configuration without exposing the private key. The paths below are examples, not commands to run unchanged on a production host.
1. Collect evidence
Connect from an external client with the correct SNI. showcerts lists certificates sent by the server; it does not itself prove a valid trust path. Use verify_hostname for hostname checks and a current local CA store for trust validation. An issuer lookup error can come from a missing intermediate or an incomplete client trust store, so do not diagnose from the error string alone.
openssl s_client -connect example.com:443 -servername example.com \
  -showcerts -verify_hostname example.com -verify_return_error </dev/null
# Use your distribution's current CA store if its default is not configured.
curl -Iv https://example.com/
2. Make a controlled change
A fullchain begins with the leaf certificate, followed by the required intermediate certificates in chain order. The root normally need not be sent. For Certbot, reference fullchain.pem and privkey.pem from the same lineage rather than editing managed live files. For another CA, obtain the correct bundle from the issuer; a matching filename is not evidence that a certificate and key belong together.
# Inside the existing TLS server block; replace the lineage path.
ssl_certificate     /etc/letsencrypt/live/example.com/fullchain.pem;
ssl_certificate_key /etc/letsencrypt/live/example.com/privkey.pem;
3. Acceptance checks
Validate with nginx -t before reloading. On fresh connections, record the served chain, hostname, validity dates and verification result again. Test both IPv4 and IPv6 where configured. The actual API must succeed with TLS verification enabled; curl -k is not an acceptance test. A working CDN edge does not prove the origin configuration is correct.
sudo nginx -t && sudo systemctl reload nginx
# Run verification again from an external client.
openssl s_client -connect example.com:443 -servername example.com \
  -verify_hostname example.com -verify_return_error </dev/null
Common mistakes and diagnostic limits
If the server returns another site’s certificate, inspect listen addresses, server_name, destination and SNI first. Expiration and chain completeness are separate issues. s_client can continue despite verification errors unless configured to stop, so inspect its output and use verify_return_error. Do not solve the symptom by globally trusting an arbitrary certificate or disabling SSL verification in the application.
Rollback and prevention
If validation or reload fails, restore only the scoped configuration and validate again; do not delete private keys or Certbot-managed files. Repeat external chain and hostname checks after renewals. Expiry alerts, HTTPS health checks with verification enabled and a record of the effective certificate paths help catch regressions before clients report them.
Related reading
For the next step, read How to Fix Let’s Encrypt and Certbot Renewal Failures on Nginx.